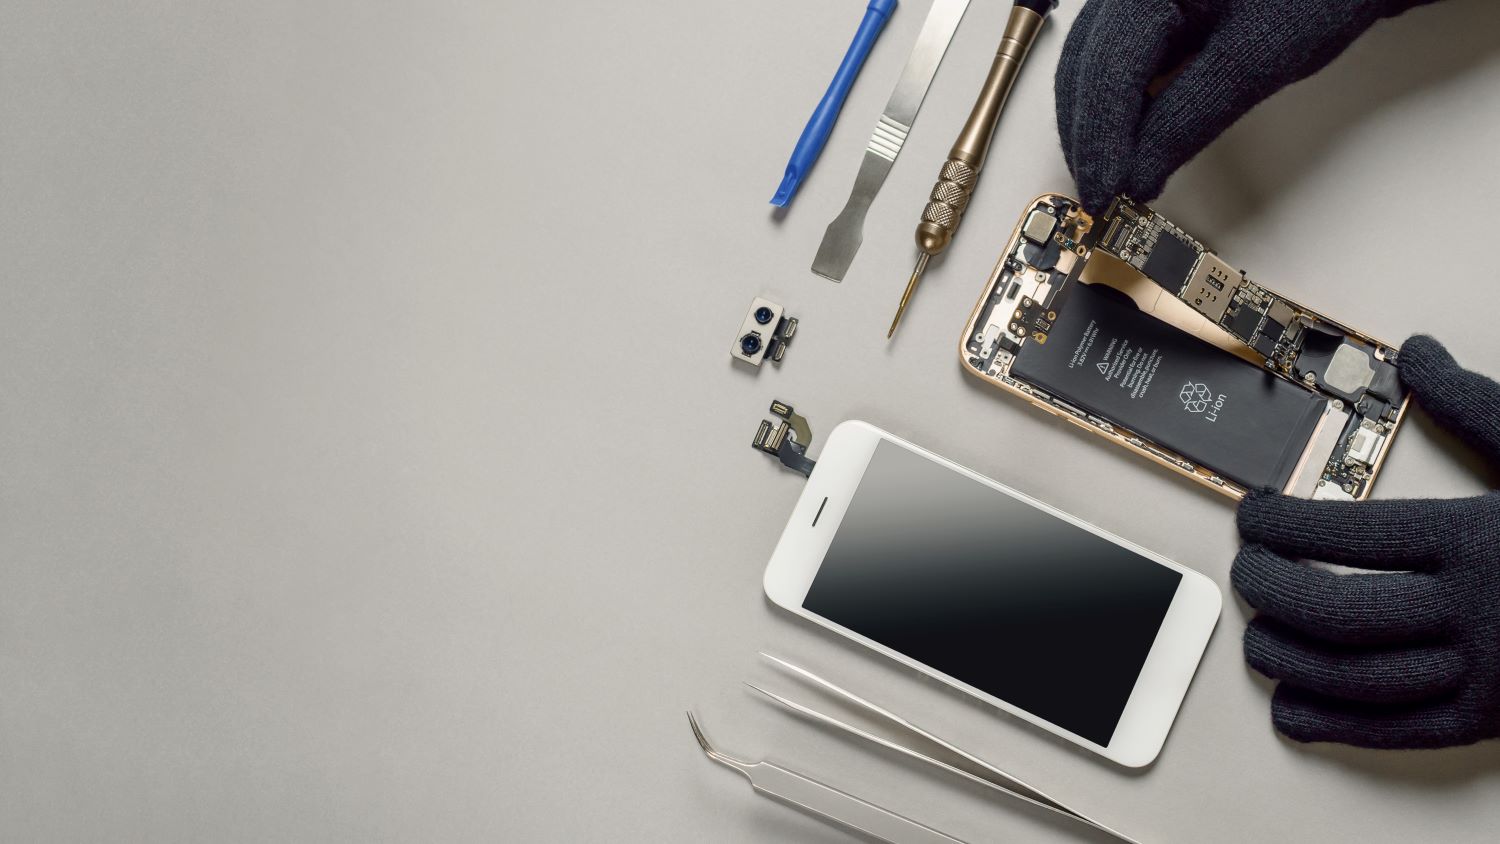
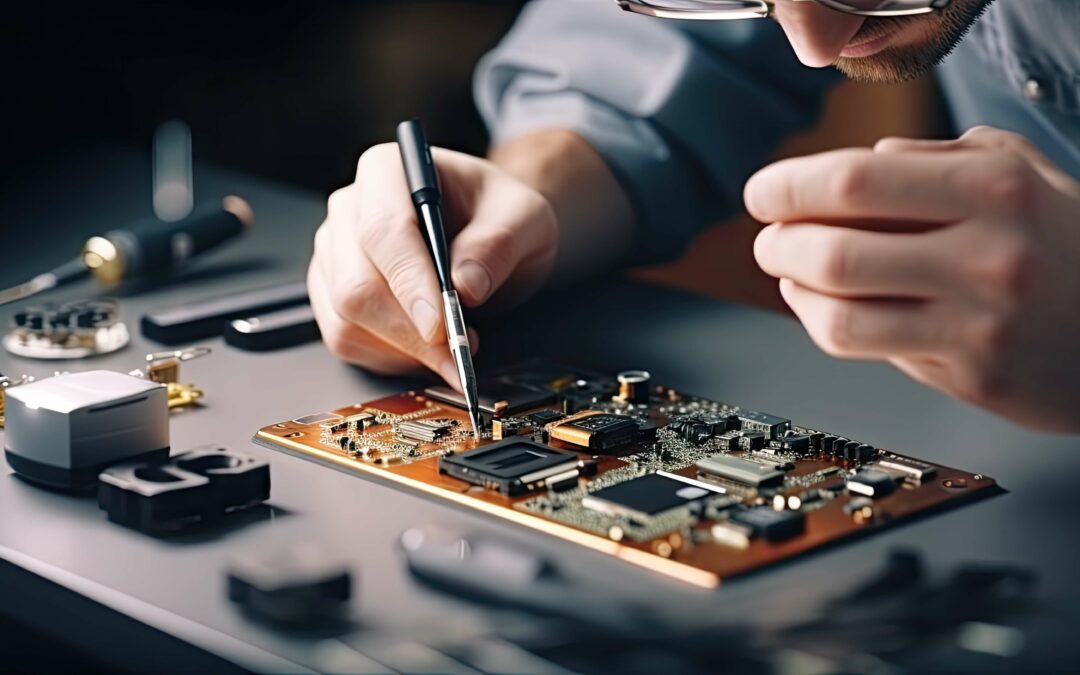
When you’ve just had your phone repaired, whether it’s a cracked screen, a malfunctioning battery, or any other issue, it’s crucial to ensure that the repair was successful and your device is in proper working condition. In this comprehensive guide, we will walk you through the essential steps to test your phone after a repair. By following these guidelines, you can avoid potential issues and make the most of your newly restored device.
Why Testing Your Phone After a Repair Is Important
When it comes to testing your phone after a repair, the foremost objective is to confirm that the technician has effectively resolved the initial issue. This crucial step not only assures you that you’ve received the service you paid for but also guarantees that your phone operates as per your expectations.
Additionally, by thoroughly examining your device, you can proactively detect any unforeseen problems that may have arisen during the repair process. This proactive approach allows you to swiftly address any new issues, ensuring that your phone continues to function optimally.
Incorporating the practice of post-repair phone testing is not only about functionality but also about gaining peace of mind. It affords you the confidence that your device is in excellent working condition, significantly reducing the likelihood of encountering unpleasant surprises down the road.
How to Test Your Phone After a Repair
1. Visual Inspection
Begin by performing a visual inspection of your phone. Check for any physical damages or discrepancies that may have occurred during the repair process. Ensure that the screen, buttons, and ports are in perfect condition.
2. Power On and Off
Turn your phone on and off to confirm that it boots up and shuts down without any issues. Pay close attention to any unusual behaviors, such as excessive lag or unusual noises.
3. Screen and Touch
Test the touchscreen functionality by swiping, tapping, and using various gestures. Verify that the screen responds accurately to your touch and that there are no dead spots or unresponsive areas.
4. Audio and Speakers
Play a variety of audio files to check the sound quality and volume. Test both the earpiece speaker and the external speaker. Ensure that there are no distortions or issues with sound output.
5. Connectivity
Verify that your phone can connect to Wi-Fi, mobile data, and Bluetooth without any problems. Test phone calls and text messaging to confirm that communication features are working correctly.
6. Camera and Sensors
Open the camera app and test all camera functionalities, including taking photos and recording videos. Additionally, check the performance of sensors such as the accelerometer, gyroscope, and proximity sensor.
7. Battery and Charging
Examine the battery performance by using your phone for various tasks and monitoring its power consumption. Test the charging functionality to ensure it charges at an appropriate rate without overheating.
8. Software and Apps
Check for any software issues, including app crashes or abnormal behavior. Update your phone’s operating system and apps to ensure they are running the latest versions.
9. Data Backup and Restore
Before proceeding with any repair, it’s essential to back up your data. After the repair, restore your data to ensure that all your files, contacts, and settings are intact.
What to Do If You Discover Issues
If you encounter any problems during the testing process, don’t panic. Here’s what you should do:
1. Contact the Repair Service Provider
Reach out to the repair service provider immediately and explain the issues you’ve encountered. They should be able to address the problems and offer a solution, possibly under warranty.
2. Document the Issues
Take clear photos or videos of any problems you’ve identified. This documentation can be valuable when communicating with the repair service provider and may serve as evidence if needed.
3. Verify Warranty and Guarantees
Check if your repair service is covered by a warranty or guarantee. If so, inquire about the terms and conditions for repair-related issues.
In conclusion, testing your phone after a repair is a critical step in ensuring the functionality and longevity of your device. By following the steps outlined in this guide, and choosing a reputable phone repair store such as Repair Lounge, you can confidently verify the success of the repair and enjoy your fully operational phone. Remember that if you encounter any issues, your repair service provider is there to assist you.
Testing your phone post-repair provides peace of mind, allowing you to fully enjoy your device without worrying about hidden problems. So, whether you’ve just replaced a cracked screen or had a complex internal repair, don’t skip the testing phase—it’s your assurance of a job well done.


